


Starting your own indoor seeds is a great family project and an economical way to grow your own organic garden. Indoor seeds are usually started before winter is over, making this a fun indoor activity as we wait for Spring.
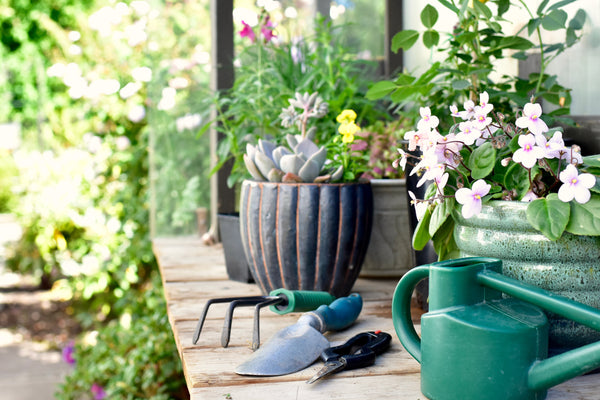
Gathering a few supplies and making a plan will enhance your success. All seed packets have information about sowing and growing dates to use in your plan.

1. Get a head start and use a calendar.
I recommend using a paper calendar that is devoted to gardening or seed starting. Find your average last frost date and write it on the calendar. Research what you would like to grow, and what grows best sown indoors. Using information from the seed packets, write proposed start dates – and anticipated harvest dates – on the calendar.

2. Develop a routine and take your time.
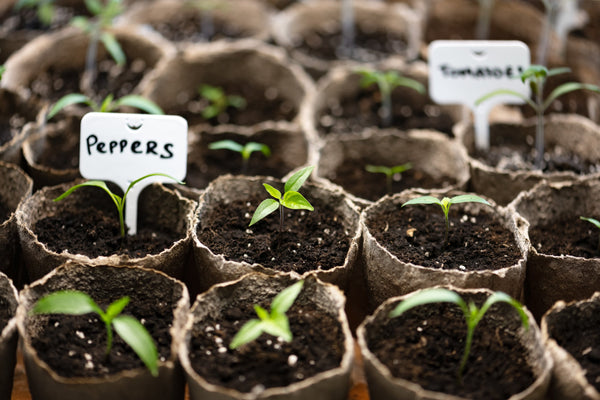
I like to break up the process across several days or devote a lazy weekend day to the task. First, I set up my table, light, flats, cells/pots, and heat mat; then I add moistened seed starting mix to the cells; then I pull packets that I am going to plant and make labels; finally, I plant.

3. Check seeds twice daily for moisture and thinning needs.
4. Thinning seedlings is not optional! Most seedlings will grow faster, bigger, and stronger if allowed to grow without competition. It can be tempting to grow every single seedling that germinates, but it is not sustainable long-term (you will run out of space, time, or both). Seedlings should be thinned to one plant per cell. Peas, chives, cilantro, and basil are exceptions – they grow best when left in clumps of 5-10 seeds. Follow each seed packet for specific direction on how and when to thin seedlings.

5. Have a plan for potting-up and planting-out. Weather can delay transplanting, so make sure you have enough room indoors to accommodate your seedlings as they grow and demand larger pots. This is where saving every seedling that germinates can really bog you down. Each plant you save is takes away growing space from the others, so only “grow on” what have room in your garden to “plant out.”

6. Watch the weather, harden-off, and use season extenders. Hardening off your seedlings is a process by which you slowly introduce them to outdoor temperatures, wind, and light. This is necessary for every crop, no matter how cold- or sun- tolerant. Over the course of a week, move your trays outside during the day and inside at night. In 2019, we had a frost at the very end of April, after weeks of mild weather. Be prepared for similar weather events, and extend your harvesting season with cloches, frost cloth, hoop houses, and patio greenhouses.
While you wait for your bounty of indoor seeds to mature, think about the reward: standing in the warm summer sun snacking – two for you and one for the basket. Maybe you cut a few flowers for the table. You pull a few carrots and radishes out of the ground too. Sweet success started with your winter seedlings. Enjoy!
About the Author: Rachel is Molbak’s Garden Division Lead and has worked here for nine years. She has fond childhood memories of trips to Molbak’s with her family and loves connecting people with plants. Rachel‘s gardening passions are roses, Japanese Maples, fragrant plants, garden design, and seed starting.