It’s March and we’re eager to get the garden season rolling, right? Thankfully seed starting is a perfect remedy for that hands-in-the-dirt craving. Starting seeds indoors comes with benefits; the ability to grow longer season crops in a short season zone, as well as moving up the harvest day and creating a longer bloom season.
When picking out seeds for your cut flower garden, think of creating a complimentary color palette. Consider the bloom time and days to harvest for flowers you would like to include in bouquets together. Typically, your focal point flowers are easy to pick out, but plan for some fillers and greens to fill out bouquets and centerpieces. 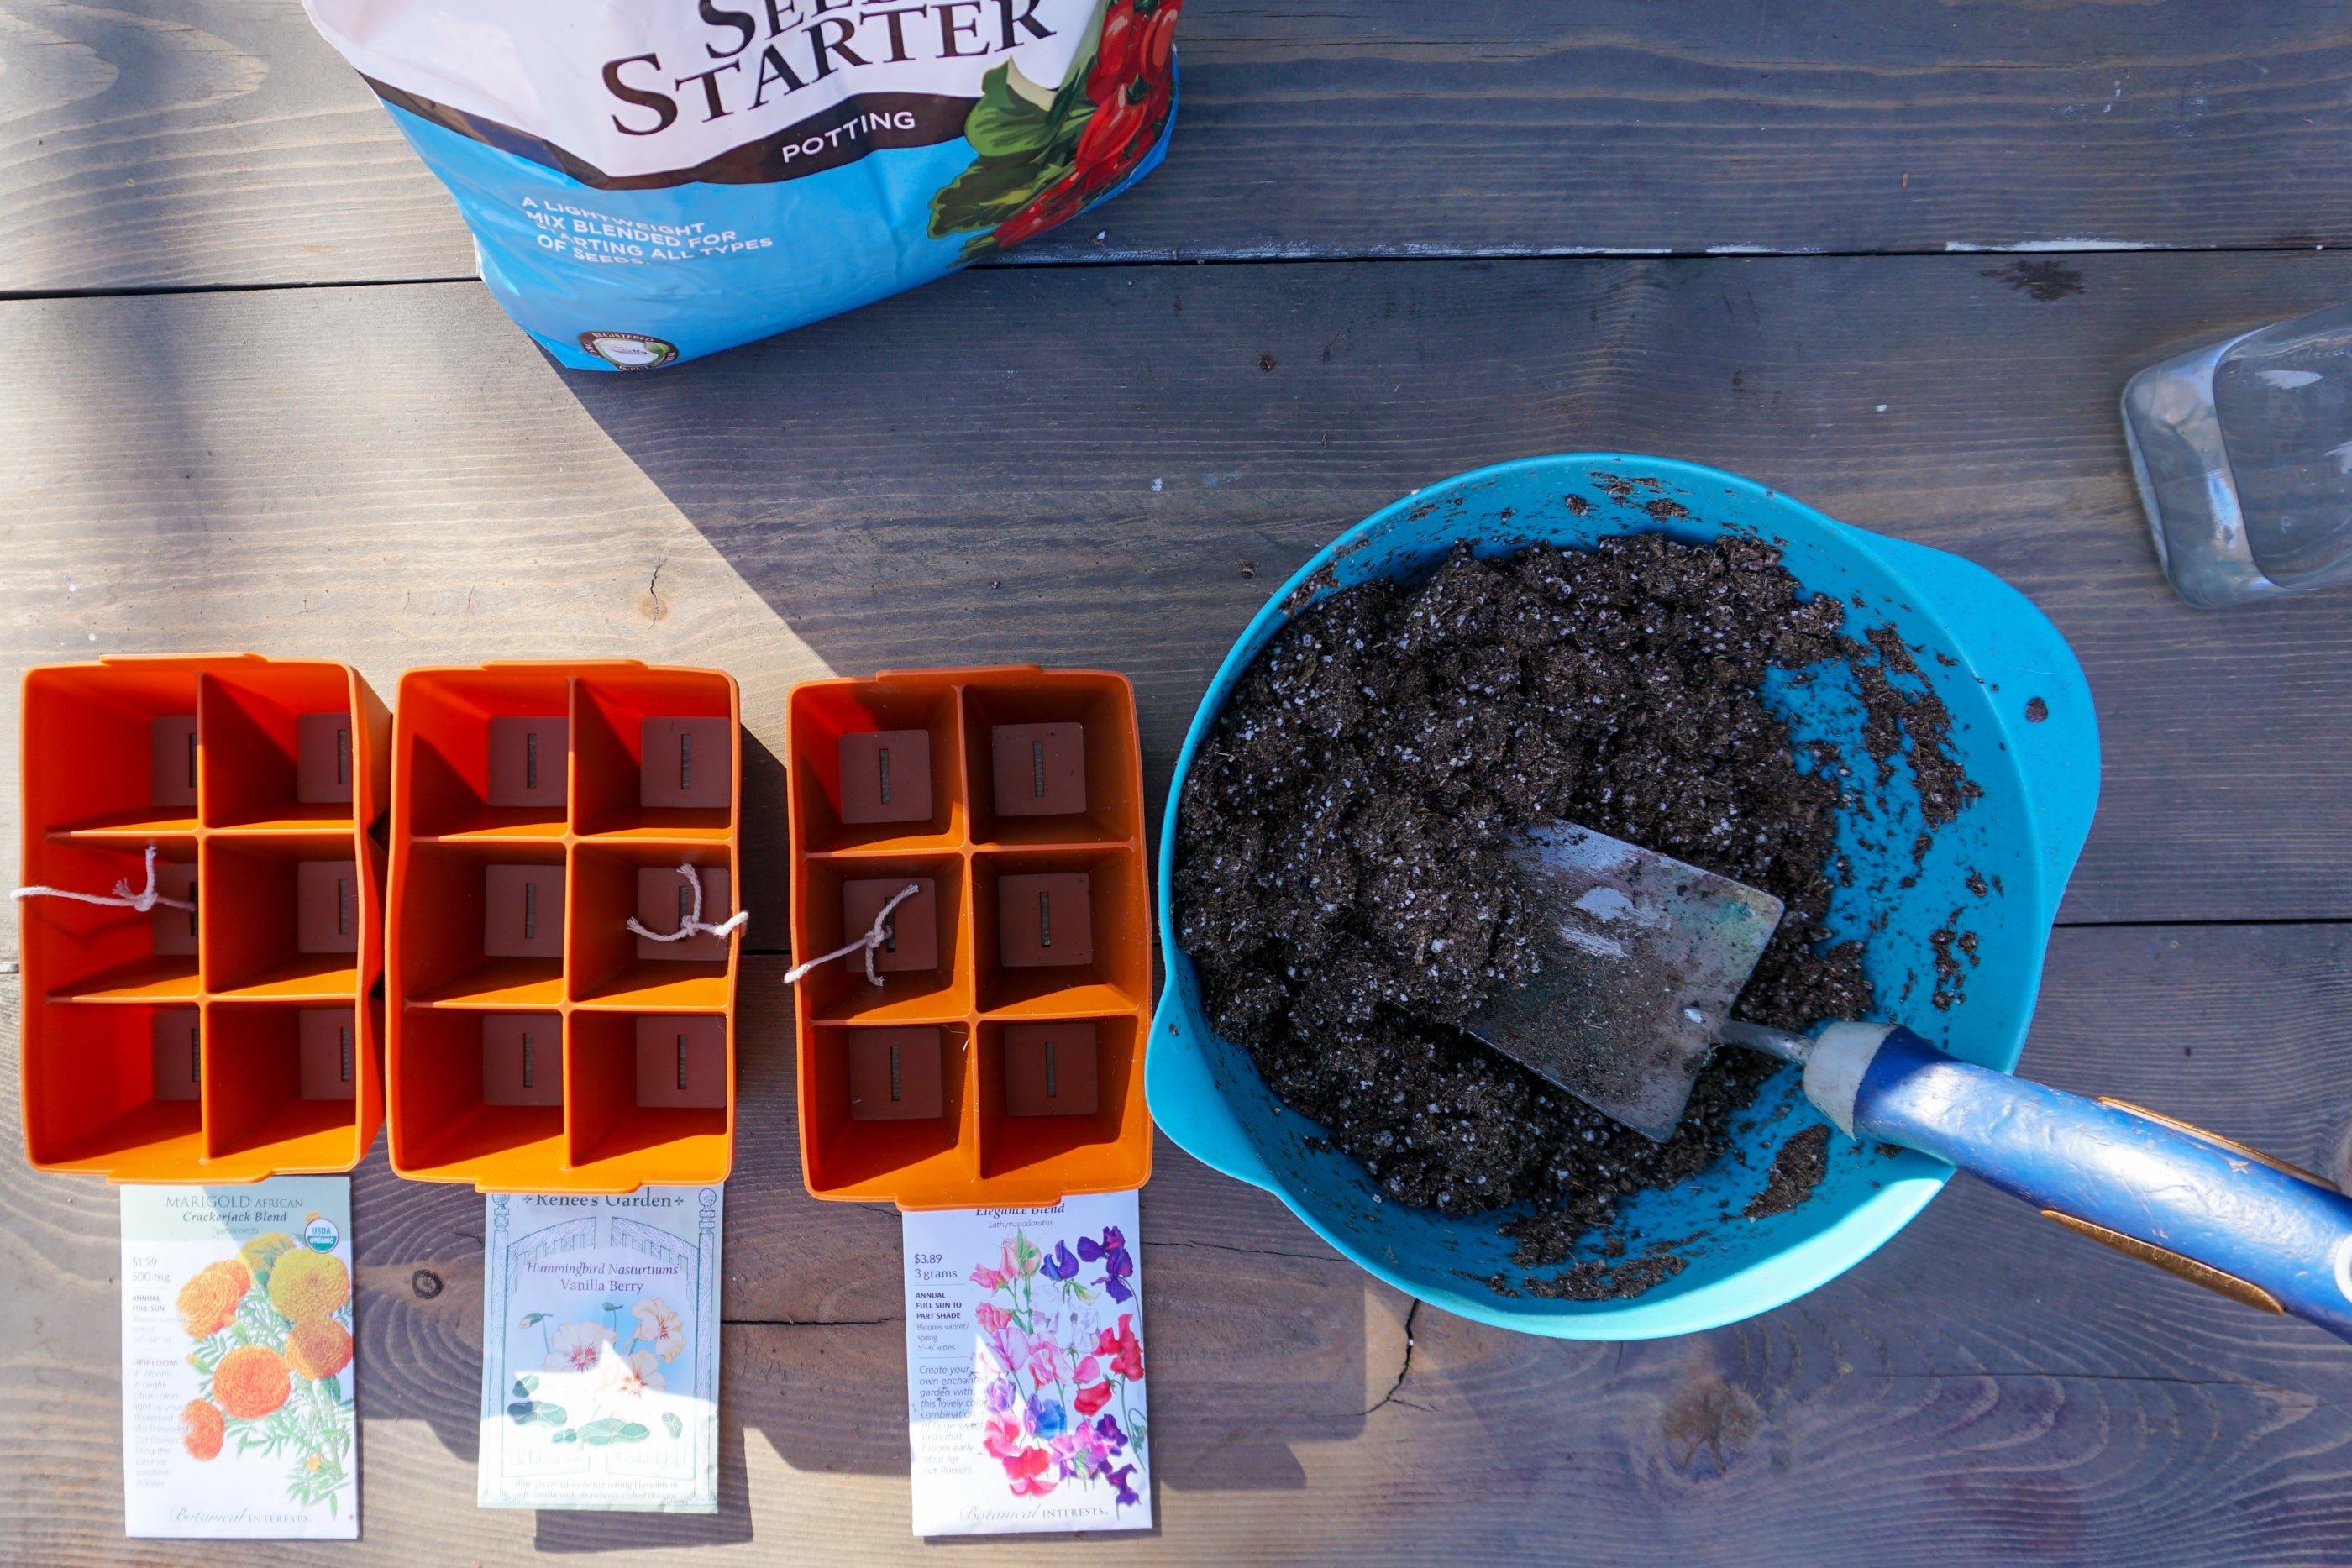 Once your seeds are picked out, divide them into groups based on planting time. Some seeds like to be planted 8-10 weeks before your last frost, as others don’t need as long.
Pro tip: To stay on top of planting, set reminders for your last frost date and seed sowing dates in your phone.

Today I’m planting:
- Marigolds
- Sweet Peas
- Nasturtiums
Before you start sowing seeds, gather the materials you’ll need:
- Seeds
- Seed Starting Mix
- Water
- Seed tray and cells
- Trowel to mix soil
- Sharpie (for labeling)
Now let’s sow some seeds!
1. Pour your soil into a bucket or bowl (I’m using a retired mixing bowl from the kitchen). The amount of soil depends on the number of seed trays you’ll be filling. You can eyeball it but start small. You can always add more later.

2. Add water and mix until water is spongy. You want the soil to form a loose ball when crunched in the palm of your hand. Evenly moist soil is great for germination and can be easier to work with.

3. Fill your seeds trays to the top. I’m using Sili-Seedlings silicone seed starter trays that are easy to reuse and clean throughout the season.
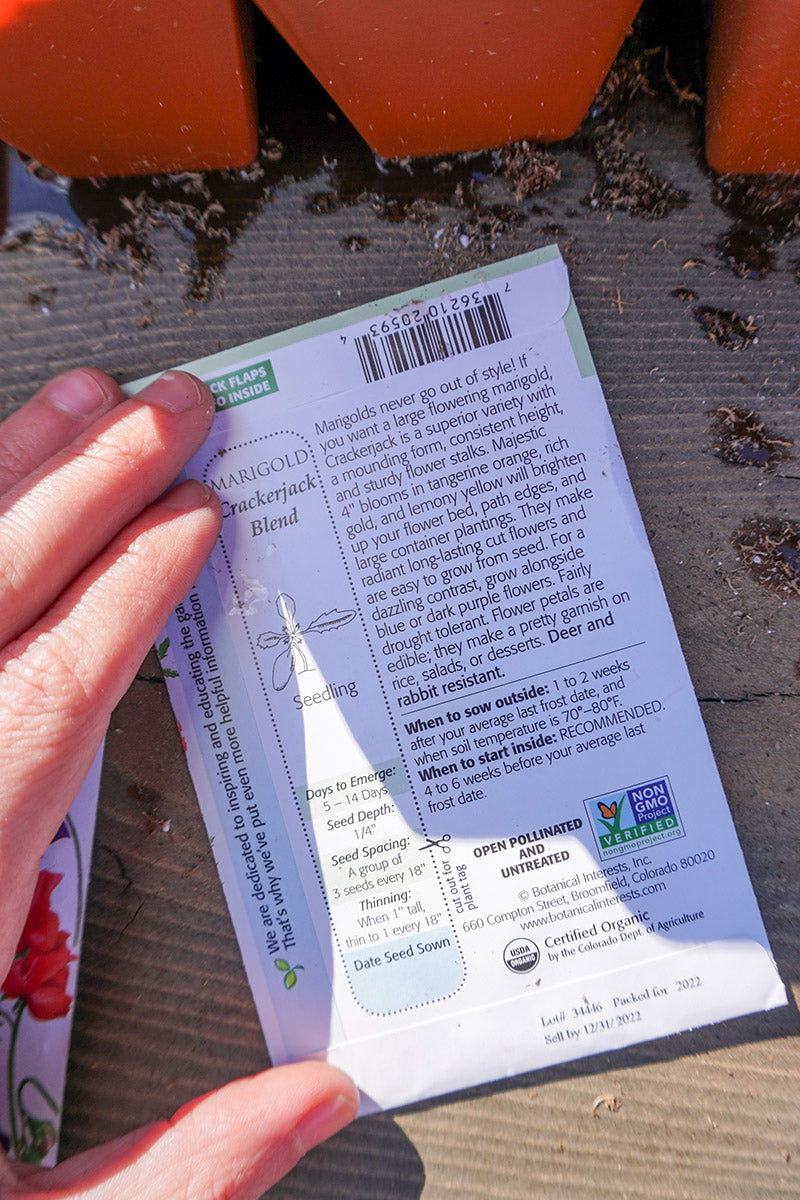
4. Time to plant! Pay attention to your seed packets here! Different seeds like to be planted at different depths and with a different number of seeds per cell. Follow the directions very carefully and remember to thin as directed once they sprout.
5. Add another layer of soil if needed, and then give one more thorough water. Now your seeds are ready to grow!
6. Don’t forget to label your seed tray. This will come in handy when they’re ready to be planted out and you need to give them the correct amount of space between starts.

7. Place in a bright, dry location to give your seedlings the ultimate chance of germination. The Sili-Seedling trays have a drainage hole on the bottom (awesome!) so I’m using an old seed tray to catch any excess water. You can use a heat mat for consistent warmth and/or use a grow light to guarantee your seedlings are getting enough light.
8. Be patient and enjoy the process! Your seeds are putting in work right now so check in on them daily and water when the top inch of soil is dry.
You can follow along with our cut flower garden journey over on Instagram: @molbaks.
Happy gardening!